CUO is currently only available for Windows operating systems. The CUO client requires an official installation of Ultima IV Quest of the Avatar, so be sure to get your free copy from gog.com. For the full CUO experience, you may also be interested in Ultima I, II, and III, also available at gog.com for a modest fee.
Stand-alone CUO
Classic Ultima Online Client and Server
Updated September 16, 2025
You must run the server first (rum_server.exe) and then then client (rum_client.exe). If upgrading or re-installing your server, be sure to backup the player.db file. Replace the newly installed player.db file with your backup to retain player progress.
Playing Classic Ultima Online

At the title screen, press any key to continue.

CUO will attempt to locate an official Ultima IV installation on your drive at the default location C:\GOG Games\Ultima 4\. If Ultima IV is not installed, you can obtain a free copy from GOG here. If it is already installed, but resides in a different location, then please provide the correct location by either typing the path into the input field, pasting it into the field, using the File Open dialog to browse to your install location, or by editing the game.ini file that exists in a sub-directory below the RUM installation folder.
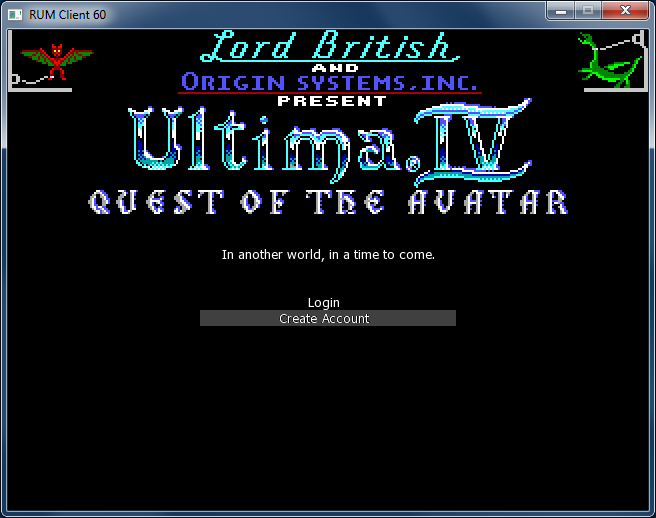
Use the down arrow key to highlight Create Account and press enter to continue. Alternatively, use the mouse to select the field and select it with the left mouse button.
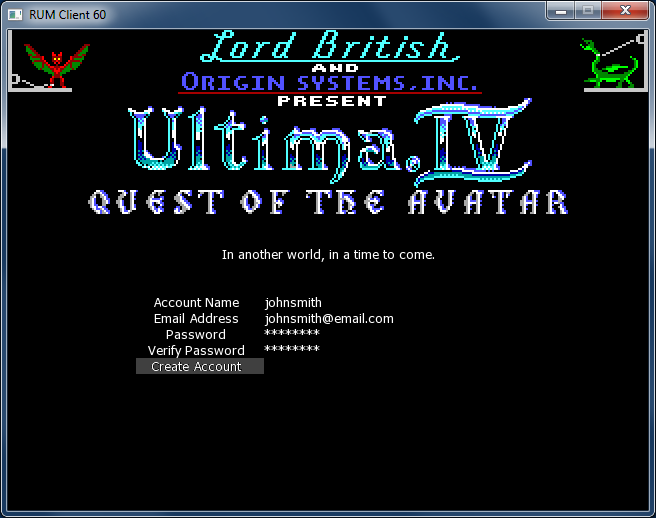
With Account Name highlighted, enter an account name. Note that this is not a character name. Please enter a valid email address. Your email address is only used for account verification and password recovery. Enter a password and a password verification. Please make note of your account details. Classic Ultima Online will always attempt to use the last account information provided, but you will have to enter your password every time you play.
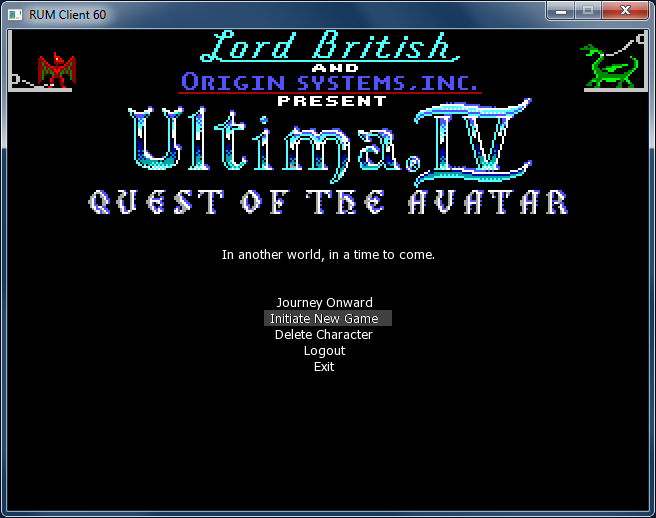
For brand new accounts, create a new character by selecting Initiate New Game followed by pressing the Enter key.

Provide a name for your character. Character names must be unique. You will receive a notification if the name you provided has already been used.
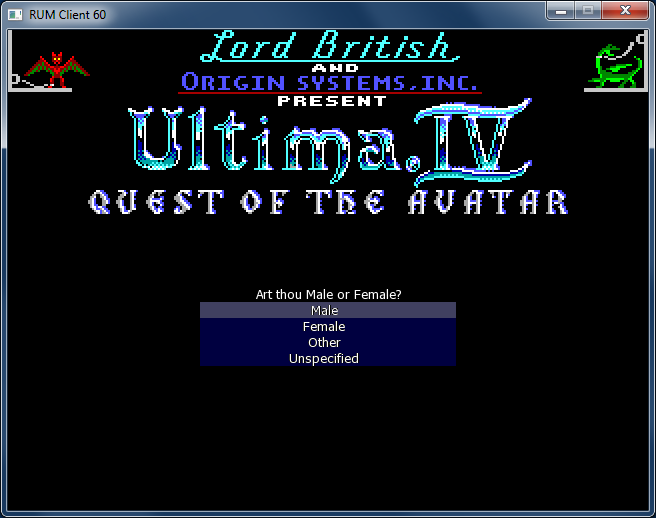
Select a gender.

During the game introduction, press any key to advance the story line. You can revert to previous screens by pressing the Escape key.

At the gypsy test, answer the questions by pressing either the 1 or 2 key matching the answer you wish to select.
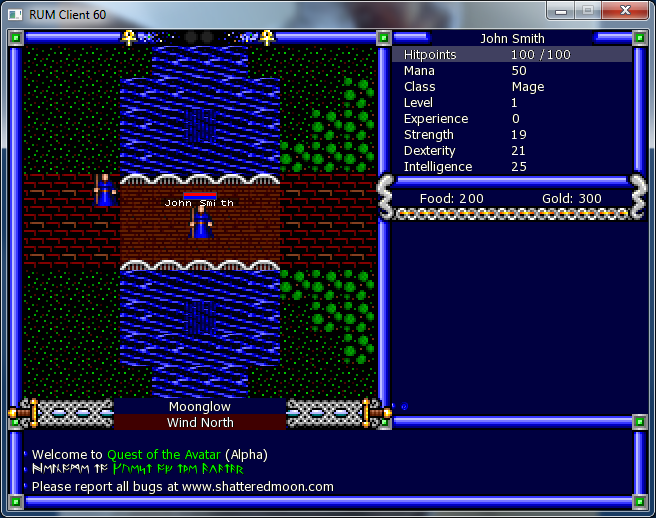
When you reach this screen, you are fully in the game. Please refer to game documentation on how to play. You can press Q to quit at any time or simply close the game client when you are done.
Hosting a Server
Hosting a server is easiest if you have a static IP or URL you can provide to players for the server address. It’s still possible to host a server without one of those however.
Determine what your external IP address is by visiting https://whatsmyip.com/. This is the address you’ll need to provide to your players in order to connect.
Next, open the game port in your firewall. This procedure will vary depending on your firewall software, but should be similar to the following steps for the Microsoft Defender Firewall that is packaged with Windows:
- Navigate to Control Panel, System and Security and Windows Firewall.
- Select Advanced settings and highlight Inbound Rules in the left pane.
- Right click Inbound Rules and select New Rule.
- Add the port you need to open (CUO defaults to port 58888) and click Next.
- Add the protocol TCP and the port number into the next window and click Next.
- Select Allow the connection in the next window and hit Next.
- Select the network type as you see fit and click Next.
- Name the rule something meaningful (like CUO) and click Finish.
If you don’t have a static IP, you will have to configure port forwarding on your router. Again, the steps will vary depending on your router, but you should have a section called Port Forwarding or Port Triggering, which might be categorized under Advanced settings.
- Add a new custom service with a name like CUO or Ultima.
- The external and internal start and end points should all be set to 58888 or whatever port you have specified in the server’s .ini file.
- Your internal address will be something like 192.168.1.x, determined by opening a command shell and executing ipconfig /all. Look for your particular address listed next to the IPv4 Address for your Ethernet device.